Distributing Forms
Distributing Forms
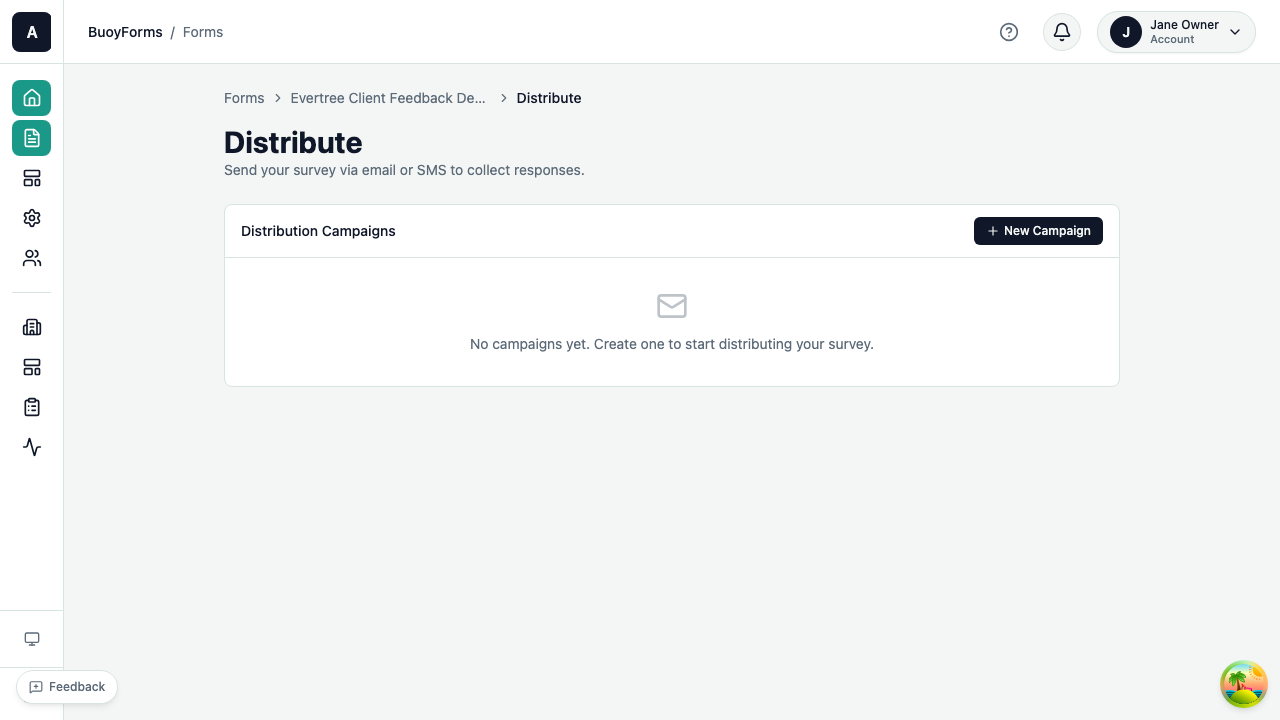
Once your form is published, BuoyForms gives you multiple ways to share it with respondents — direct links, website embeds, QR codes, and pre-filled URLs.
Direct Link
Every published form gets a unique URL:
https://buoyforms.com/submit/{form-slug}-
1
Open Share
Open your form in the builder and click Share in the top bar.
-
2
Copy the link
Copy the direct link and share it via email, chat, social media, or anywhere you'd share a URL.
Embedding in Your Website
Embed your form directly into any webpage. The embed script is lightweight (~5KB) and loads asynchronously — it won't slow down your site.
The form renders directly in the page flow, replacing a placeholder <div>.
<div id="buoyform-container"></div>
<script
  src="https://buoyforms.com/embed/buoy-form.min.js"
  data-form-id="YOUR_FORM_SLUG"
  data-container="#buoyform-container"
  async
></script>
Best for: landing pages, contact pages, knowledge bases.
The form opens in a modal overlay when triggered by a button click.
<button onclick="BuoyForm.open('YOUR_FORM_SLUG')">
  Give Feedback
</button>
<script src="https://buoyforms.com/embed/buoy-form.min.js" async></script>
Best for: feedback buttons, NPS surveys, in-app prompts.
The form takes over the entire page in an iframe.
<iframe
  src="https://buoyforms.com/submit/YOUR_FORM_SLUG?embed=true"
  width="100%"
  height="600"
  frameborder="0"
  style="border: none;"
></iframe>
Best for: dedicated form pages, kiosks, internal portals.
-
1
Get the code
Click Share → Embed and choose your embed type (inline, popup, or full page).
-
2
Copy and paste
Copy the generated code snippet and paste it into your website's HTML where you want the form to appear.
-
3
Verify
Load the page in your browser and test the form to confirm it works correctly.
QR Code
Generate a scannable QR code for print materials.
-
1
Generate
Click Share → QR Code to generate a code that links to your form.
-
2
Download
Download the QR code as a PNG image.
-
3
Print
Add it to flyers, business cards, receipts, event signage, or product packaging.
Pre-Filling Fields
Auto-populate form fields using URL parameters. This creates a personalized experience — respondents see their info already filled in.
https://buoyforms.com/submit/my-form?email=user@example.com&company=Acme-
1
Set the parameter name
Select a field in the builder. In Advanced Settings, set the Pre-fill parameter name (e.g.,
email,company,source). -
2
Build the URL
Append
?parameter=valueto your form URL. Chain multiple parameters with&. -
3
Share the personalized link
Each recipient gets a URL with their data pre-filled.
Common use cases:
- Pre-fill email from a CRM link
- Pre-fill department from an internal portal
- Track referral source with a hidden field (
?source=newsletter) - Pre-fill customer name from a support ticket link
Access Control
Control who can fill out your form:
| Setting | Description |
|---|---|
| Public (default) | Anyone with the link can submit |
| Password protected | Respondents enter a password before accessing the form |
| Submission limits | Set a maximum number of responses (e.g., 100 spots for an event) |
| Date range | Automatically open and close the form on specific dates |
Custom domain (Enterprise)
Enterprise plan customers can serve forms from their own domain (e.g., forms.yourcompany.com). This gives your forms a branded URL and keeps respondents on your domain.
Contact support to set up a custom domain.